
In this article
An unfinished house can get through winter if its protection matches the stage of construction. The key factors are the routes by which water enters, the sensitivity of the building components and reliable inspections during a construction break. This checklist explains what clients should discuss with the site manager and contractors before rain, frost and longer interruptions.
Start with the actual stage of construction
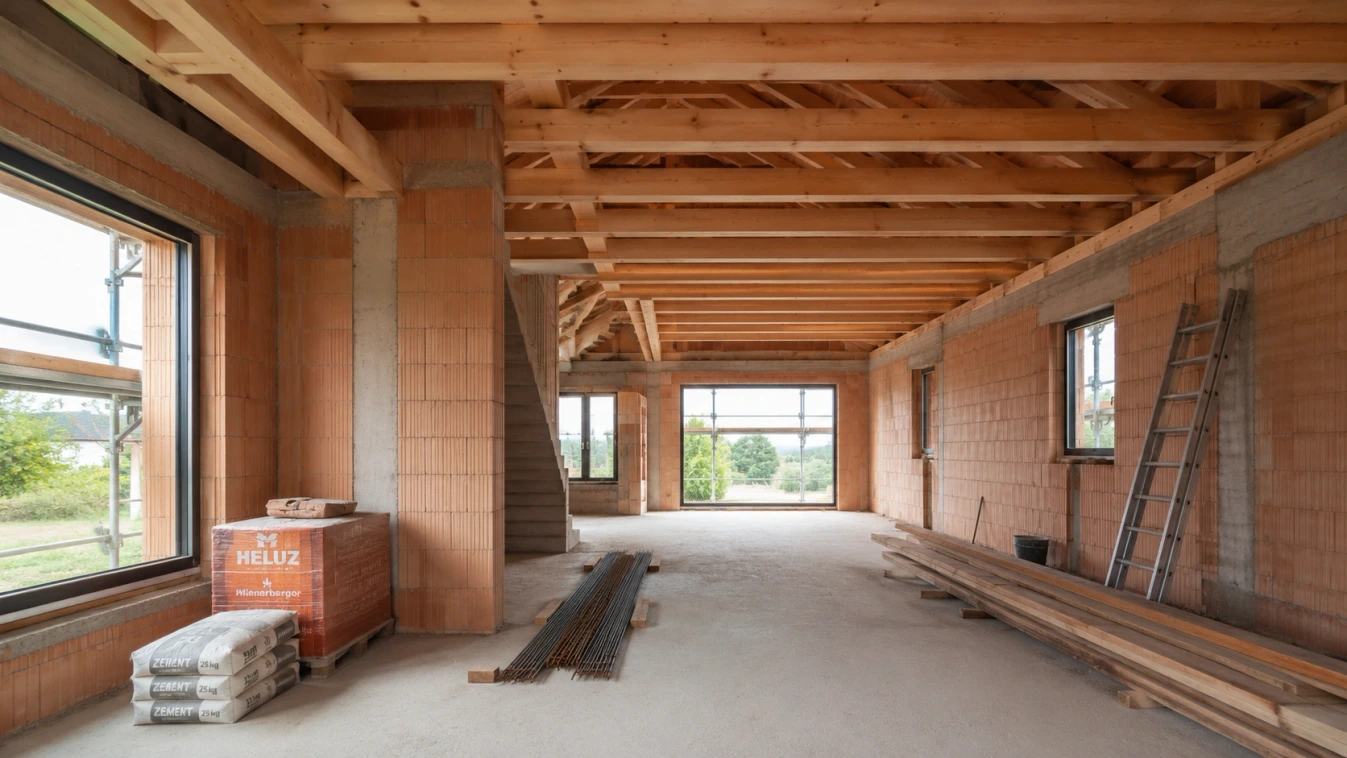
The first cold nights are a useful prompt for a joint site inspection. Do not wait until a prolonged freeze is forecast. An exposed upper storey needs different measures from a building with a completed roof and installed windows. Even a building that looks enclosed can still contain considerable moisture.
Pay particular attention to exposed wall tops and basement stairways: precipitation can enter directly at these points. The German Association of Private Builders, VPB, specifically identifies such unprotected areas as a cause of avoidable winter damage. [1]
For a project in the Palatinate, the Rhine-Neckar region or Heilbronn, assess the individual site. Is it exposed to wind? Can water flow towards the house from higher ground? Which components will remain unprotected until the next stage of work? Record the planned condition of the building during the break rather than relying on a general task labelled “winter measures”.
Trace rainwater from its entry point to its outlet
Start at the top and follow the likely path of water downwards. For every exposed surface, the site manager should establish how rainwater will be collected, drained and safely directed away outside the building. A cover is only effective if its edges and connections also work.
| Site area / component | What to establish during the inspection |
|---|---|
| Exposed wall tops | Are wall tops, cavities and sensitive installed components protected by suitable, secured covers? |
| Uppermost floor / open roof | Where could water collect? Which openings and joints need temporary protection? |
| Windows, doors and penetrations | Are temporary closures and their connections suitable for rain and wind exposure? |
| Basement stairway and ground | Can surface water reach the building? Where do roof water and temporary drains discharge? |
For example, a tarpaulin may cover the upper floor slab while its edge hangs over the basement stairway. The slab is protected, but the stairway receives additional water. The solution must account for the entire water route. Drainage, connections and the duration of protection need to be planned together, as the technical publication on weather protection during construction emphasises. [4]
Covers must not form pockets that collect water and must be secured for the expected wind exposure. Larger temporary roofs and enclosures require proper design. Have the responsible specialists determine fixings, additional loads and temporary drainage; improvised holes in structural components are not a drainage plan.

Frost protection depends on the component
Separate two questions: how will the existing structure be protected during the break, and under what conditions can new work take place? A weatherproof cover alone does not answer the second question.
Fresh masonry
Fresh masonry needs frost protection. Frozen materials must not be used, and masonry work must not continue on frozen masonry. “Winter mortar” does not remove these requirements. Follow material instructions and agreed protective measures. The German guidance “Mauern im Winterhalbjahr” also warns against using antifreeze additives or de-icing salts as a supposed solution. [2]
Young concrete
Cold weather slows strength development. Protection and curing must therefore suit the concrete, component and temperature history. Concrete must not be placed on frozen ground. Formwork and supporting temporary structures remain until sufficient strength has been reached. [3] Before a break, ask when protection may end and what evidence is needed before the next load is applied.
A daytime maximum of +5 °C is therefore not a general clearance for all structural work. Air, ground and materials can have different temperatures. Conditions overnight and during subsequent hardening also matter.
Timber construction: do not trap moisture
Pay particular attention to the bases of timber walls, connections and any insulation already installed. The moisture-protection guidance recommends inspections and documented moisture measurements, including before subsequent work. [5] A dry-looking surface alone is insufficient evidence that a construction can be closed up.
Rain protection and drying must work together. Wrapping damp timber tightly without considering moisture can impede drying. The protection plan should therefore allow for drying if it becomes necessary. [4] Agree the next stage with the timber contractor before installing linings or further layers.

An enclosed structure still needs to dry
Concrete, plaster and screed introduce moisture into the building. Installed windows keep rain out but do not replace a drying plan. The German Environment Agency identifies insufficient drying of new buildings and inadequate moisture removal as possible causes of mould. [6]
Establish how ventilation, heating where needed and technical drying will suit the construction stage, and who will monitor them. An air-humidity reading does not demonstrate that every component is ready for the next step. New floor finishes and enclosed wall assemblies require the relevant checks.
Do not simply put a combustion heater inside a closed structure. BG BAU highlights exhaust-gas, fire and explosion hazards; additional requirements apply to LPG appliances. [7], [8] Equipment selection, operation and monitoring need competent supervision.
Include stored materials, water supplies and the excavation
The winter inspection also covers materials awaiting installation. With the contractor, check whether the storage location and packaging meet the manufacturer’s instructions. Bagged materials need dry storage; sensitive insulation and timber products must not stand in puddles. A tarpaulin over a pallet is insufficient if water can reach it from below. Soaked or damaged materials should be assessed before use.
The responsible contractor should assess temporary water lines, hoses and equipment for frost exposure and secure or decommission them where needed. Take care that a pump required for excavation dewatering is not inadvertently switched off at the same time.
If an excavation remains open, include it in the inspection plan. New water ingress, erosion or changes to slopes and shoring require professional assessment. Do not independently change pump operation, loads stored near the edge or protective systems. Our article “Securing an excavation” (available in German) explains the roles of sloping, shoring and dewatering.
A construction break needs an owner and a plan
Before a longer interruption, the site manager and contractors should agree a short winter plan. It should contain names, dates and a response to deviations as well as protective measures. These five questions are especially useful for clients:
- Protection: Who installs each cover or closure, and by when?
- Inspections: Who checks them during the break and after significant weather events?
- Operation: Which pumps, dryers or other systems must keep running?
- Reporting: Who can be contacted if water enters or a cover is damaged?
- Restart: Who assesses component condition and readiness for subsequent work?
Record the pre-break condition with dated photographs and a list of outstanding issues. Set inspection intervals to suit the risk, supplemented by checks after storms, heavy rain and thawing. Photographs aid coordination but do not replace professional assessment. Only enter the site along agreed, safe access routes.
Checklist: the inspection before the break
Review these points with the site manager. Assign a responsible person and a completion date to every outstanding task.
| Inspection point | What should be confirmed |
|---|---|
| 1. Construction stage | Exposed components and the duration of the break are recorded. |
| 2. Rain protection | Covers and closures are complete and secured. |
| 3. Water routes | Drains work; water is not directed towards the basement or excavation. |
| 4. New components | Protection for fresh masonry and young concrete has been agreed. |
| 5. Timber and fit-out | Moisture condition, drying and required checks have been coordinated. |
| 6. Storage and supplies | Stored materials, temporary lines and equipment have been checked. |
| 7. Excavation and access | Protection, dewatering and safe inspection routes have been agreed. |
| 8. Organisation | An inspection plan, contact details and records are available. |
Check actual condition before restarting work
After the break, removing the covers and following the calendar is not enough. Have affected components checked for moisture and possible frost damage. Concrete may take longer to develop strength in cold weather; a fixed date alone does not justify removing formwork or applying loads. [3]
Loose components, visible spalling, new cracks, unusual deformation or larger accumulations of water need to be investigated before subsequent work. Record the location and time and inform the site manager. It is particularly important to establish the nature and extent of damage before the next stage conceals it.
Frequently asked questions about winterproofing
Can an unfinished house remain open over winter?
That depends on the construction method, stage of work, exposure period and weather protection. Ask for a specific plan for the components that are still exposed. “Open” must not mean that precipitation can enter the building unchecked.
Does the building need heating during a construction break?
Not automatically. The components present, their condition and the planned work determine what is needed. Establish whether thermal protection, heating or drying is required. Rain protection and agreed inspections still need to work during an unheated break.
How much does winterproofing an unfinished house cost?
There is no reliable flat rate without knowing the construction stage and scope. Ask for covers, temporary drainage, any enclosure, equipment operation and inspections to be described individually. This makes clear which services are included and how long they are needed.
When is an additional inspection useful?
After a storm, heavier rain, thawing or visible changes to protective measures. The inspection plan should specify who checks and how damage is reported. Dangerous conditions are assessed by specialists without clients entering the affected area themselves.
Coordinate winter measures with the construction work
ZuhauseBauen supports construction projects in the Palatinate, the Rhine-Neckar region and Heilbronn. If you are planning a new house, extension or conversion, discuss winter measures as part of the programme and scope of work. Find out more about our construction services or contact us about your project.
Discuss your project
References and further reading
The technical guidance in this article applies to construction projects in Germany. Sources researched on 7 October 2026; linked publications are in German.
- VPB: Winterbaustelle: Rohbauten im Winter gut schützen!. 1 January 2022.
- Bundesverband Kalksandsteinindustrie: Mauern im Winterhalbjahr. December 2021.
- InformationsZentrum Beton: Zement-Merkblatt B 21: Betonieren bei extremen Temperaturen. Currently available edition.
- Informationsdienst Holz: Feuchtemanagement – Witterungsschutz in der Bauphase; holzbau handbuch R05/T01/F01. August 2024, especially pp. 23–26.
- Studiengemeinschaft Holzleimbau: Feuchteschutz von Holzmassiv- und Skelettbauten in der Bauphase. August 2025, especially pp. 11–12.
- Umweltbundesamt: Schimmel. Updated 27 January 2025.
- BG BAU: Baustein B 232: Heizgeräte. July 2021.
- DGUV / BG BAU: DGUV Regel 110-010: Verwendung von Flüssiggas. Section 5.2.1.2: Heating and drying equipment.
